制作Hyper-V的Ubuntu虚机模板
硬件准备
主机信息
- CPU:默认创建1核处理器
- 内存:1GB
- 硬盘:50GB 系统盘,使用LVM动态磁盘
- IP地址: 172. 31. 107. 15/16
- 安装镜像:https://releases.ubuntu.com/20.04/ubuntu-20.04. 2-live-server-amd64. iso ( SHA256SUMS校验值为: d1f2bf834bbe9bb43faf16f9be992a6f3935e65be0edece1dee2aa6eb1767423 )
- 软件源为: http://cn.archive.ubuntu.com/ubuntu
创建主机
# 使用管理员权限开启PHPV153003主机的powershell控制台
# 创建虚机,并指定第二代且版本为5. 0以及路径
New-VM -Name ubuntutemplate -MemoryStartupBytes 1GB -Generation 2 -Version 5. 0 -Path d:\VMs\ -Novhd
# 创建硬盘文件夹
mkdir "D:\VMs\ubuntutemplate\Virtual Hard Disks"
# 创建系统盘,指定文件路径、大小、Blocksize
New-VHd -Path "D:\VMs\ubuntutemplate\Virtual Hard Disks\ubuntutemplate.vhdx" -Dynamic -SizeBytes 50GB -BlockSizeBytes 1MB
# 将新建磁盘附加到指定虚机
Add-VMHardDiskDrive -VMName ubuntutemplate -Path "D:\VMs\ubuntutemplate\Virtual Hard Disks\ubuntutemplate.vhdx" -ControllerType SCSI -ControllerNumber 0
# 添加光驱并指定iso文件
Add-VMDvdDrive -VMName ubuntutemplate -Path D:\ISO\ubuntu-20. 04. 2-live-server-amd64. iso
# 默认网卡不指定交换机,在安装过程中断网以免安装过程中的升级时间过长
# 设定网卡的VLAN ID
Set-VMNetworkAdapterVlan -VMName ubuntutemplate -VMNetworkAdapterName "Network Adapter" -Access -VlanId 31
# 设定主机关闭安全启动
Set-VMFirmware -VMName ubuntutemplate -EnableSecureBoot off
# 开启主机集成服务中的来宾服务
Enable-VMIntegrationService -VMName ubuntutemplate -Name "Guest Service Interface"
# 启动主机
Start-VM -VMName ubuntutemplate
系统安装
基本配置
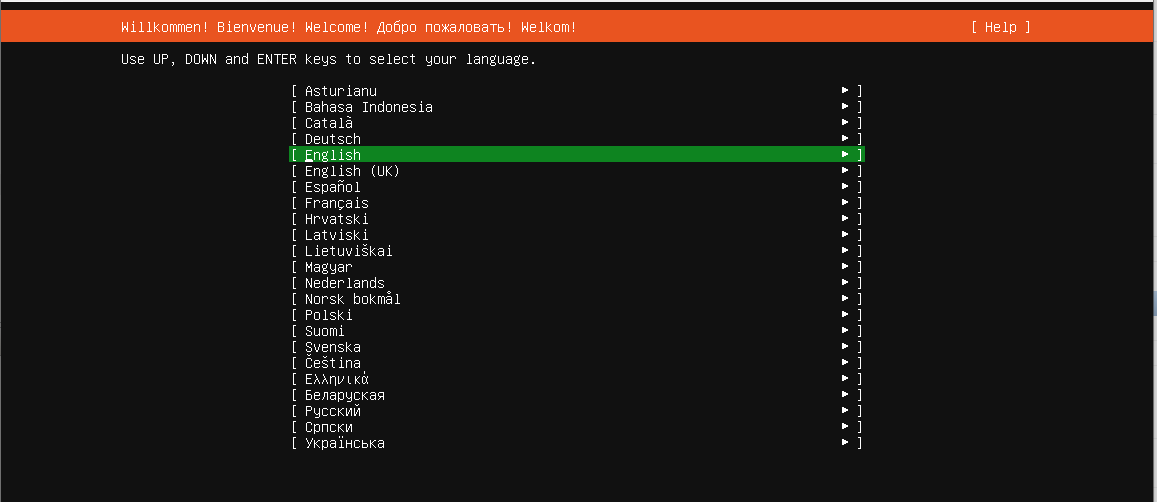
语言: English
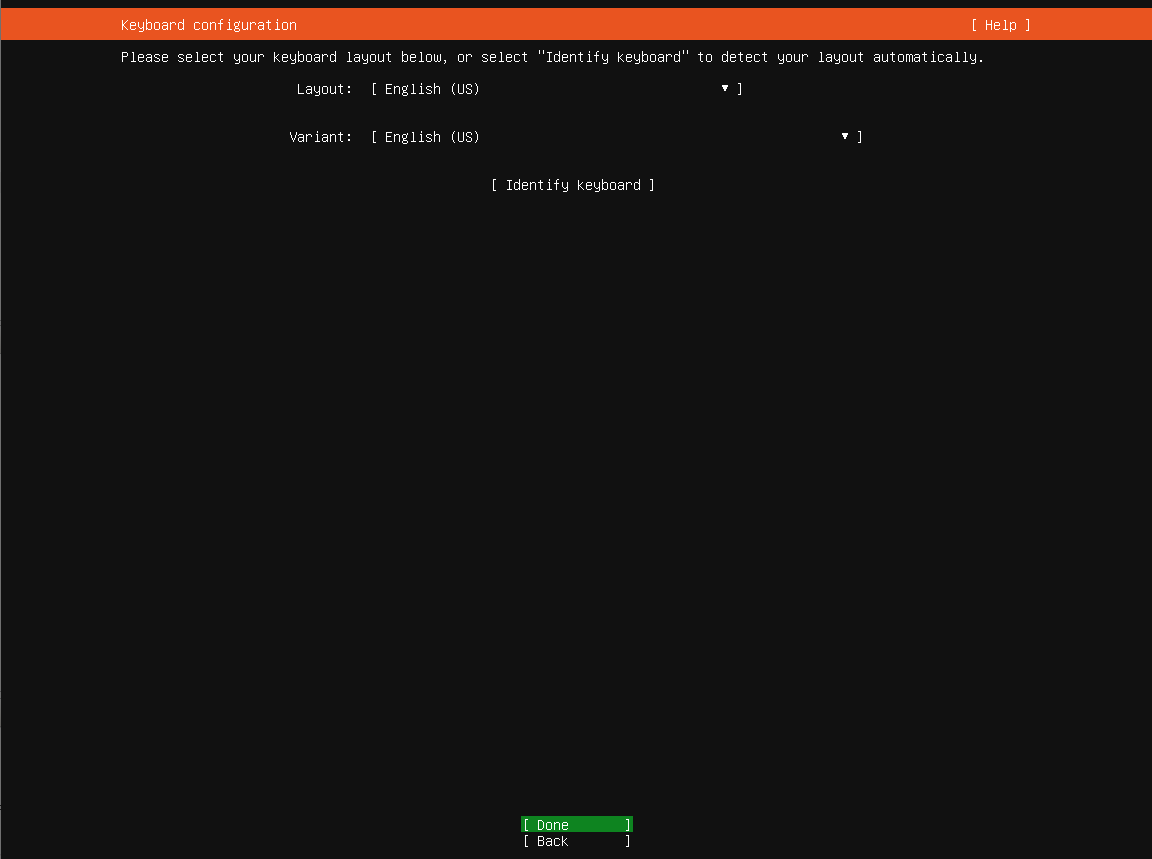
键盘:English
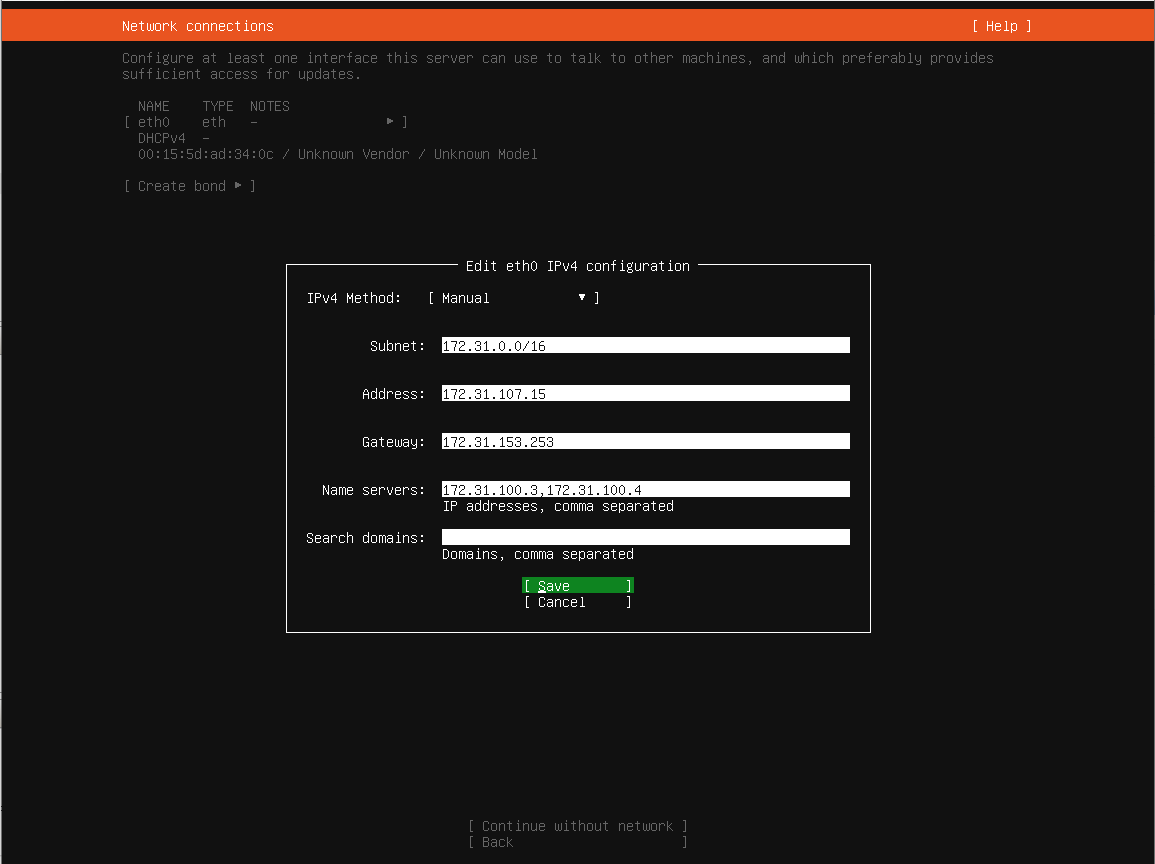
网络:
子网:172. 31. 0. 0/16
地址:172. 31. 107. 15
网关: 172. 31. 153. 253
DNS: 172. 31. 100. 4
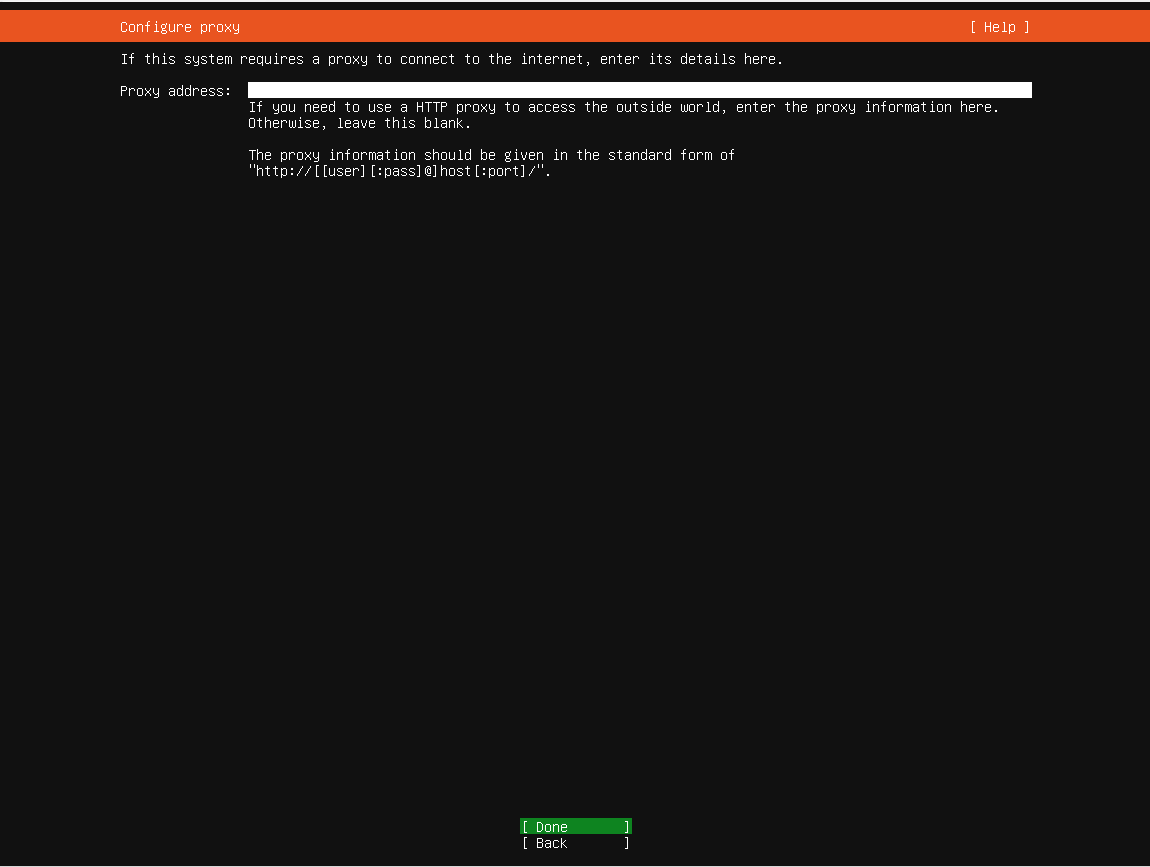
不使用网络代理,并使用官方源
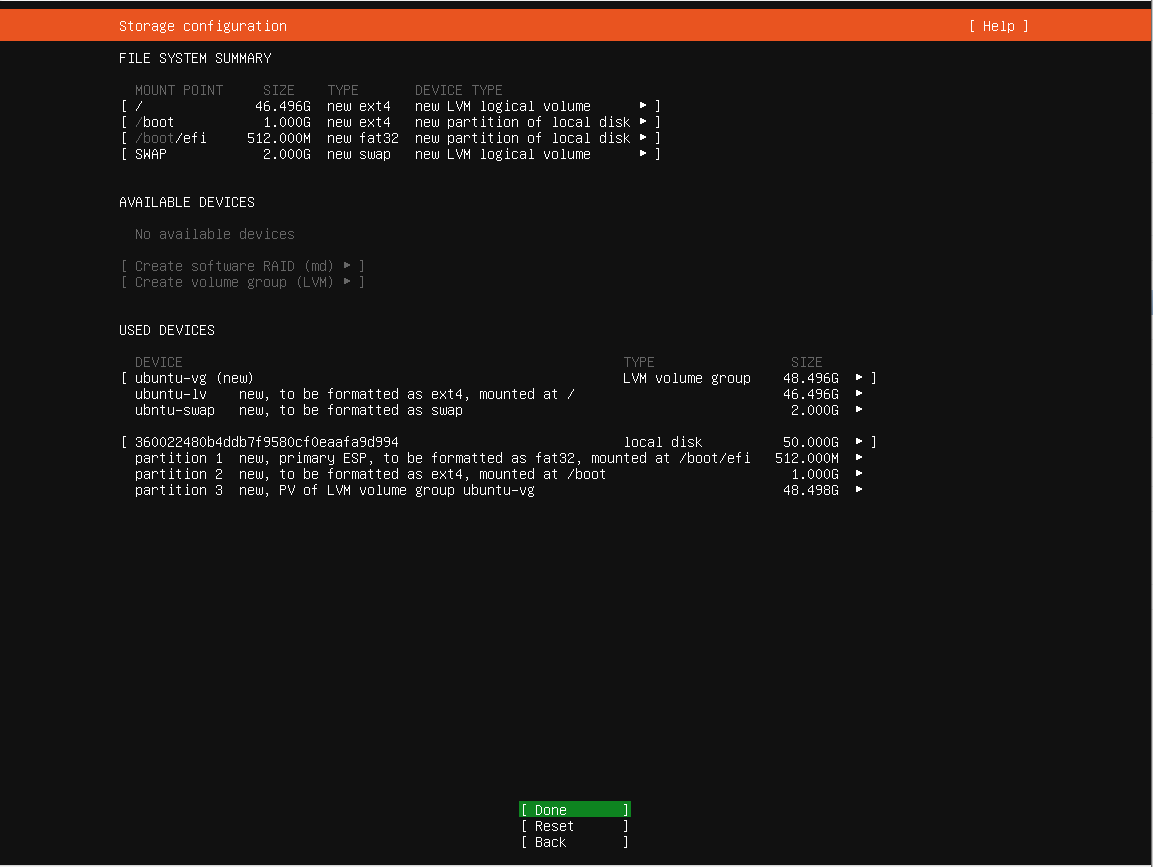
使用自定义磁盘分区
创建1GB ext4格式 /boot 分区
自动创建512MB EFI引导分区
剩余磁盘创建不含格式分区
创建PV( CL )
创建LV:root 3. 5GB
创建LV: swap 3GB
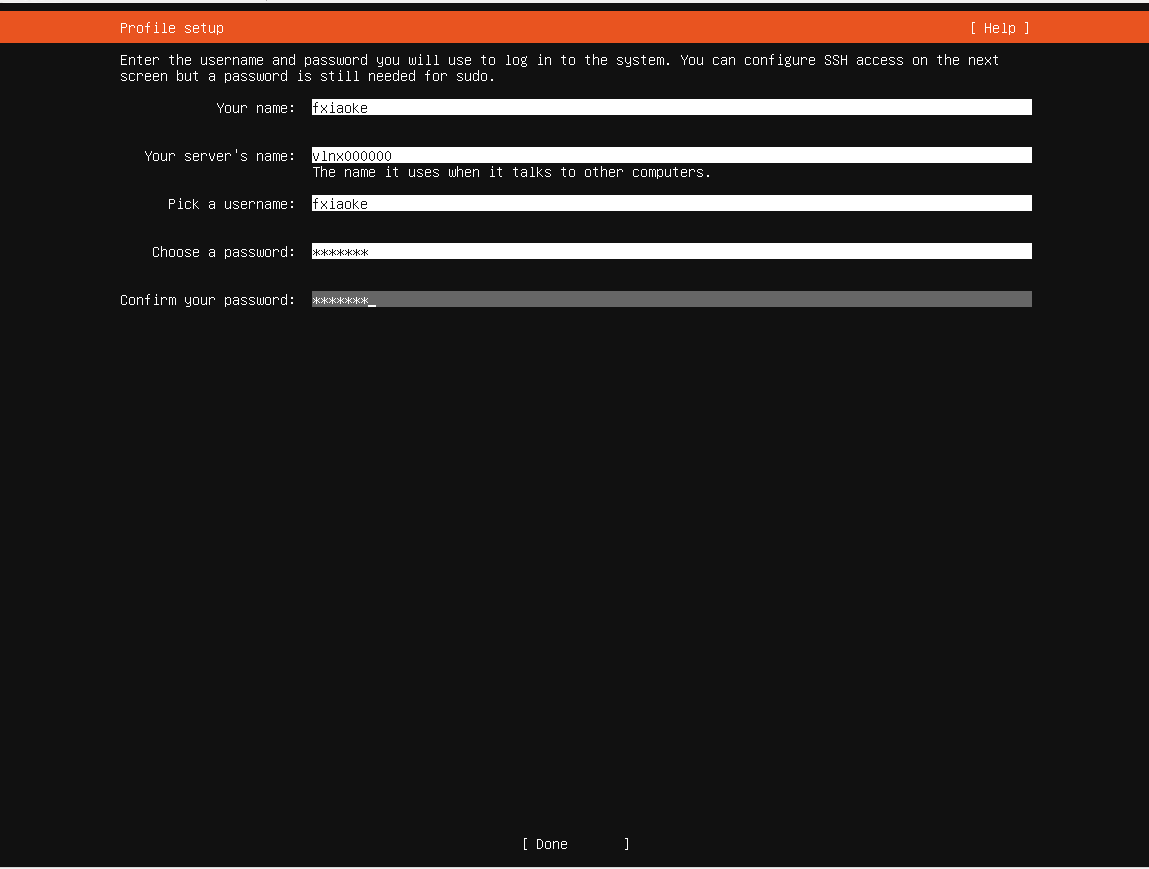
创建默认用户以及密码、主机名( VLNX000000 )
安装openssh-server配置语言

配置键盘布局
配置网络属性
配置网络代理( 无 )
配置系统升级APT软件源
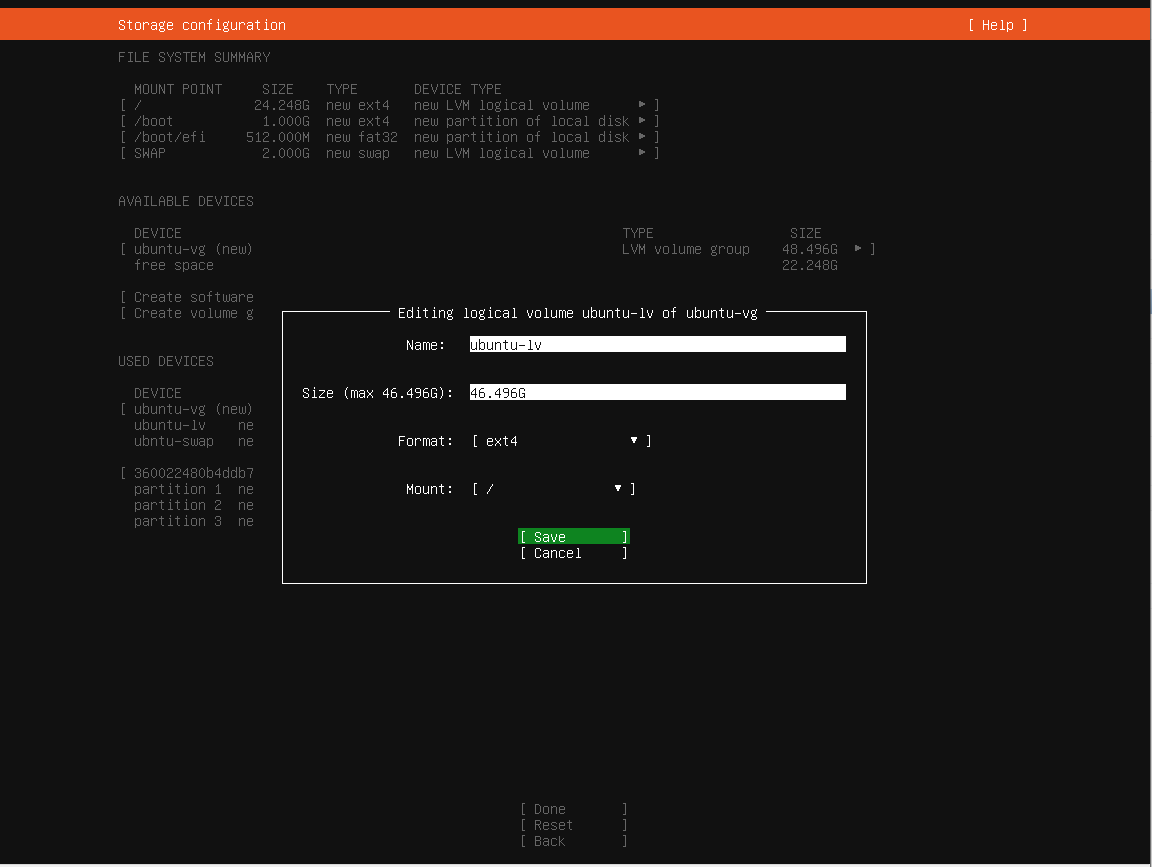
配置硬盘自动分区
配置根分区使用全部剩余空间
创建用户
安装openssh-server
选择软件包
开始安装
完成安装


系统配置
系统更新
apt update
apt upgrade -y
安装工具
# 安装网络工具包
apt install -y curl wget net-tools

# 安装监控工具包
apt install -y htop iftop iotop

# 安装其他工具包
apt install -y locate unzip tree facter ruby libruby2. 7

# 安装加域工具包
apt install -y sssd-ad sssd-tools realmd adcli
systemctl enable sssd

# 开启域用户登录自动创建home目录
pam-auth-update --enable mkhomedir
停用无用服务
# 关闭snapd服务和apparmo服务
systemctl disable apparmor.service snapd.service
systemctl disable snap-core18-1944. mount snapd.apparmor.service snapd.core-fixup.service snapd.seeded.service snapd.socket snap-lxd-19188. mount snap.lxd.activate.service snap.lxd.daemon.unix.socket snap-snapd-10707. mount
systemctl disable snapd.autoimport.service lxd-agent.service lxd-agent-9p.service snapd.system-shutdown.service snapd.recovery-chooser-trigger.service snapd.snap-repair.timer snapd.socket
# 停止cloud-init服务
systemctl disable cloud-init.service cloud-init-local.service cloud-final.service cloud-config.service
# 停止自动升级和信息收集服务
systemctl disable unattended-upgrades.service apt-daily.timer apt-daily-upgrade.timer apport-forward.socket apport-autoreport.path
sed -i 's/1/0/g' /etc/default/apport
安装Hyper-V驱动
apt install -y linux-image-virtual linux-tools-virtual linux-cloud-tools-virtual
配置时间
# 使用chrony管理时间
apt install -y chrony
systemctl enable chrony --now
# 使用北京时间
timedatectl set-timezone Asia/Shanghai
# 使用24小时制
echo 'LC_TIME=en_US. UTF-8' >> /etc/default/locale
echo 'LC_ALL=en_US. UTF-8' >> /etc/default/locale
修改网络管理工具
# 使用NetworkMangager管理网络
apt install -y network-manager
systemctl enable network-manager
systemctl disable wpa_supplicant.service

# 要将全部yaml文件移除之后再创建新的配置文件
mkdir /etc/netplan/bak
mv /etc/netplan/*. yaml /etc/netplan/bak/

# 新建配置文件
cat > /etc/netplan/01-network-manager-all.yaml << EOF
# This is the network config written by 'subiquity'
network:
	version: 2
	renderer: NetworkManager
EOF

# 应用配置
netplan apply
systemctl restart network-manager

# 重新配置IP信息,否则开机无法访问网络
nmcli c del eth0
nmcli c m Wired\ connection\ 1 con-name eth0
nmcli c m eth0 ipv4. addresses 172. 31. 107. 15/24 ipv4. gateway 172. 31. 153. 253 ipv4. dns 172. 31. 100. 4 ipv4. method manual autoconnect yes

# 配置生效
nmcli c d eth0 && nmcli c u eth0
修改SSH配置文件
# 修改/etc/ssh/sshd_config
# 允许root使用密码登录
PasswordAuthentication yes

# 开启认证方式
GSSAPIAuthentication yes
配置防火墙
ufw allow ssh
ufw enable
ufw reload
配置编辑器
# 配置默认编辑器使用vim
# 使用第3项 vim.basic
update-alternatives --config editor
There are 4 choices for the alternative editor ( providing /usr/bin/editor ).

Selection Path Priority Status
------------------------------------------------------------
0 /bin/nano 40 auto mode
1 /bin/ed -100 manual mode
2 /bin/nano 40 manual mode
* 3 /usr/bin/vim.basic 30 manual mode
4 /usr/bin/vim.tiny 15 manual mode
开启脚本自动补全
# 去掉 /etc/bash.bashrc 第35~41行注释

# enable bash completion in interactive shells
if ! shopt -oq posix; then
  if [ -f /usr/share/bash-completion/bash_completion ]; then
    . /usr/share/bash-completion/bash_completion
  elif [ -f /etc/bash_completion ]; then
    . /etc/bash_completion
  fi
fi
修改默认shell为bash
root@vlnx000000:~# dpkg-reconfigure dash
# 选择NO
Removing 'diversion of /bin/sh to /bin/sh.distrib by dash'
Adding 'diversion of /bin/sh to /bin/sh.distrib by bash'
Removing 'diversion of /usr/share/man/man1/sh. 1. gz to /usr/share/man/man1/sh.distrib. 1. gz by dash'
Adding 'diversion of /usr/share/man/man1/sh. 1. gz to /usr/share/man/man1/sh.distrib. 1. gz by bash'
设置开机自启动脚本
# 新建开机运行程序
echo '@reboot root /bin/bash /root/firstboot.sh'>>/etc/crontab
启用ROOT用户并重启
# 设置root用户密码
sudo passwd
# 更新索引和库依赖关系
ldconfig
updatedb
# 重启主机
reboot
清理交付
删除安装用户
deluser fxiaoke
rm -rf /home/fxiaoke
清理主机信息
# 清除Machine ID
>/etc/machine-id
# 清除SSH公钥, 在后续部署中会使用`dpkg -reconfigure openssh-server`来重新SSHD的key,否则无法SSH登录
rm -rf /etc/ssh/*key*
扩展磁盘
lvextend -l 100%free /dev/cl/root
resize2fs /dev/cl/root
删除缓存
# 清除apt缓存
apt autoremove -y
apt clean
# 清除访问历史
rm –rf /tmp/*
rm –rf /var/tmp/*
history -c
关机
# 使用带空格的命令避免存入history
 sync
 poweroff
备注
- 新部署的主机需要使用
dpkg-reconfigure openssh-server来重新SSHD的key,否则是登录不上22端口的; - Ubuntu 20. 04 使用swap.img来替代以往的swap分区,导致在虚机部署中实际磁盘空间占用要大于centos至少一倍以上;
- 部署时使用自定义分区可以创建swap分区;
- Hyper-V虚机的默认blocksize是32M,会导致vhdx文件远远大于vmdk,建议按照官方实践指南blocksize使用1M。
- 微信

相关推荐
2023-12-30
Hyper-V的使用技巧
我日常在WSL+VMware Workstation环境中发现,虽然当前环境已经解决了多品牌虚拟化的问题,但还是经常会出现CPU飙升、内核报错的问题。最后,还是决定全盘Hyper-V化。 功能启用帮助文档 Microsoft Learn站点:Windows Server Hyper-V 和虚拟化 官方文档:Windows上的Hyper-V 常用命令:Hyper-V Commands WSL使用帮助:适用于 Linux 的 Windows 子系统文档 Windows命令行:命令行博客 功能开启# 使用管理员权限开启powershellInstall-WindowsFeature -Name Hyper-V -ComputerName $Env:COMPUTERNAME -IncludeManagementToolsEnable-WindowsOptionalFeature -FeatureName 'Microsoft-Hyper-V-Tools-All' -Online# 重启主机之后进行校验Get-WindowsFeature -ComputerName...

2024-03-13
本地裸机安装EVE-NG
从微信群文件里面翻出来的指导手册,现在还能用,只是忘了出处了,大约应该是51CTO教RHCA的庚老师的笔记。 1、安装前准备1、裸机一台,建议组“洋垃圾”,内存64g以上,CPU 16线程以上,500g以上固态盘2、U盘:8G以上3、准备一个引导系统的windows系统4、Rufus软件(ubuntu启动盘制作工具,百度下载)5、准备ubuntu16. 04. 7的安装镜像6、eve—ng材料包7、良好的internet环境8、定制linux镜像(包含ubuntu、SUSE,centos-stream)9、EVE-NG官方文档材料包链接:链接:https://pan.baidu.com/s/14QbWkX8C7-iy-NwbVzUNRg 提取码:dos6 2、制作U盘启动盘使用Rufus软件制作一个ubuntu16的启动盘 3、安装ubuntu16操作系统安装ubuntu16操作系统为EVE-NG的底层系统,参考 官方文档的3. 3章节 4、修改ubuntu系统配置1、修改SSH-Server配置先使用普通用户登录#切换到root用户sudo -i #设置root密码为1...

2026-01-03
找出Ubuntu内置那些CA证书
在 Linux 安全领域,证书机构(CAs)作为可信的第三方,负责验证网站、服务器和客户端的身份。Ubuntu 预装了一组可信的根证书,但了解如何检查、验证和检查这些证书是系统管理员和开发人员的一项关键技能。本指南涵盖了 CA 证书的存储位置、如何列出它们以及如何使用标准命令行工具验证其有效性。 10 山西·阳泉·娘子关镇 CA 证书存储在哪里?在 Ubuntu(以及大多数基于 Debian 的系统)中,受信任的 CA 证书存储在几个特定的位置: /etc/ssl/certs/:这是 OpenSSL 和其他应用程序查找受信任证书的主要目录。它包含单个证书文件和指向实际证书的符号链接(通常以哈希值命名)。 /etc/ssl/certs/ca-certificates.crt:这是一个单个连接文件 ,包含系统上所有受信任的 CA 证书。许多应用程序(如 Python requests 或 curl)使用此特定文件,而不是扫描整个目录。 /usr/share/ca-certificates/:此目录存放由 ca-certificates 软件包提供的原始证书文件。 列出所...

2025-07-16
免费Hyper-V发行版的终结
微软已经正式淘汰了Windows Server 2025免费版本的Hyper V。这一变化标志着依赖经济高效的IT专业人员和组织的重大转变虚拟化。这对您的基础设施和预算意味着什么? 06 陕西·秦岭 微软的Hyper-V Server是过去付费虚拟机管理程序解决方案的免费替代方案。在市场竞争中,它并没有改变游戏规则,但作为免费提供的企业级虚拟化解决方案,一直是重要而有影响力的基础工具。但是,随着Windows Server 2022和2025的发布,免费Hyper-V的时候代已经结束。对于依赖Hyper-V满足虚拟化需求的IT专业人员和组织来说,这一转变标志着一个重大变化。在2022-2023年期间,许多Hyper-V用户开始向微软询问Hyper-V发生了什么?答案很简单:微软淘汰了这个版本,所以你现在唯一的选择就是安装和部署Windows Server 2025 core版本(没有GUI的版本),您将在其上激活Hyper-V角色。这个版本的操作系统,你可以想象,不是免费的。但在我们讨论之前,让我们回顾一下发生了什么。 Hyper-V Server 的兴起Hyper-...

2024-07-16
在Windows中使用Docker搭建大模型RAG
本文将使用Windows环境来构建基于Qwen2-7b大模型的小型本地知识库。涉及到的内容包括: Windows环境的Docker部署; Qwen2-7b大模型的获取; 基于Ollama的大模型部署; Open-webui的前台展示 07 摄于广州黄埔·鱼珠码头 909功勋试验舰 系统准备部署WSL需要先启用“适用于 Linux 的 Windows 子系统”可选功能,然后才能在 Windows 上安装 Linux 分发。 以管理员身份打开 PowerShell(“开始”菜单 >“PowerShell” >单击右键 >“以管理员身份运行”),然后输入以下命令: # 启用WSLdism.exe /online /enable-feature /featurename:Microsoft-Windows-Subsystem-Linux /all /norestart# 安装虚拟化dism.exe /online /enable-feature /featurename:VirtualMachinePlatform /all /norestart# 下载内...

2025-12-15
RockyLinux 10 初始化脚本
随着RockyLinux 10.1的正式发布,我们在阿里云上的环境也要开始逐步向RockyLinux 10系列迁移了。为了将操作标准化,现将操作记录下来,以备后期使用。 11 天津·滨海新区文化中心图书馆 部署使用阿里云部署ECS主机,注意事项: 注意配置主机区域和交换机 一并设置私有IP地址和主机名 使用证书密钥登录,不允许root登录 配置# 系统更新dnf update -ysystemctl daemon-reload# 安装EPELdnf install -y epel-release# 修改epel源sed -e 's|^#baseurl=https://download.example/pub|baseurl=https://mirrors.aliyun.com|' -e 's|^metalink=|#metalink=|g' -i.bak /etc/yum.repos.d/epel*# 刷新缓存mkdir /etc/yum.repos.d/backupmv /etc/yum.repos.d/*.bak /etc/...