RockyLinux9 容器安装
RockyLinux虽然自带了Podman,但Docker的操作还是便利些。
首先,需要按照制作RockyLinux模板来对系统进行初始化, 再进行容器的部署。
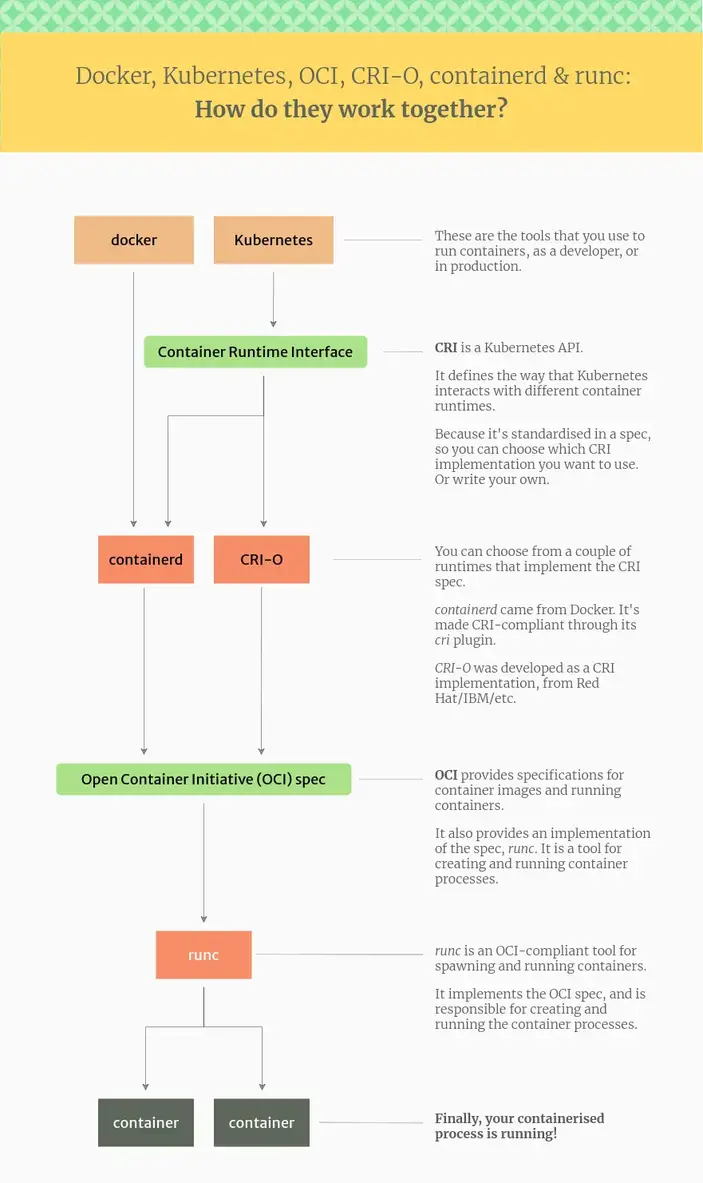
其次,因为Docker公司的各种骚操作,开源界出品了Podman来对抗Docker,同时Kubernetes相关组织提出了一个标准的API接口CRI(Container Runntime Interface),并开发了CRI-O来作为containerd的替代品。简单理一下概念就是Docker、Podman和Kubernetes、Openshfit都是管理容器的平台,只不过前两个是单机、后两个是集群的全套解决方案。而containerd和CRI-O则是底层实现,类似Linux Kernel和发行版的区别。
最后,Kubernetes是通过标准的CRI接口调用containerd或者CRI-O来编排和管理容器。
Docker
部署
卸载Podman |
非root执行
将指定用户添加到docker用户组中, 让普通用户也可以执行docker操作 |
Containerd
概念
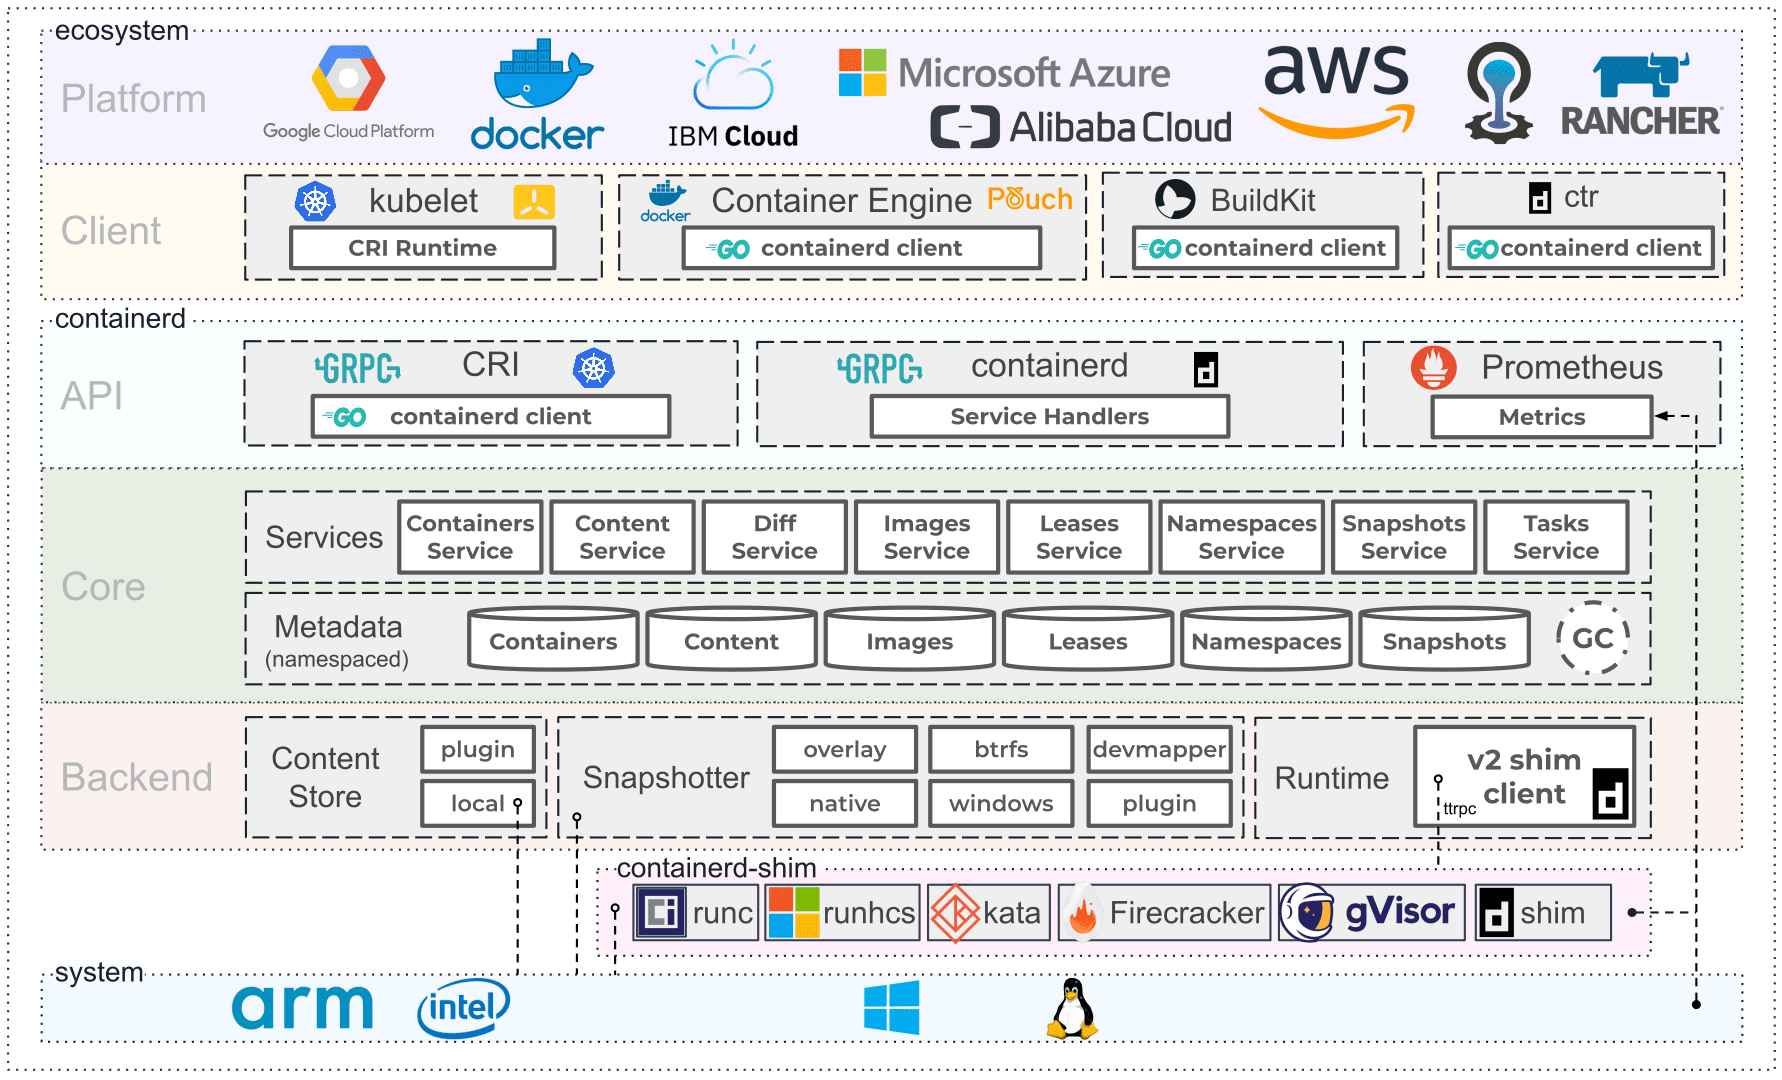
containerd是Docker的核心依赖,是Docker剥离了上层的管理工具后的单纯底层容器服务提供,是Docker公司捐献给公共平台的。实际上,安装docker也一样要安装containerd。 io。只不过,我们可以选择只安装containerd。 io,而不安装docker-ce、docker-ce-cli、docker-compose,后续的配置也需要手动管理。
部署
本次部署基于RockyLinux 9. 2 |
使用
镜像管理命令 |
其他工具
nerdctl是一个操作方式和docker基本类似的工具,命令行兼容docker。 |
参考链接
 微信
微信

相关推荐

2023-06-30
RockyLinux9 模板制作
基本思路沿用centos8的制作方法,制作CentOS8的黄金模板,以下内容有部分改动。懒得脚本化了,就这样吧。 04 摄于广州黄花岗烈士公园 系统部署软件安装这个没啥好说的,只是注意几点: 使用英文部署,可以在语言支持选项中添加简体中文的支持; 需要在部署一开始添加localhost的主机名,否则硬盘分区和主机名会有IP头的信息; 账号选项采用默认配置,添加非root管理员账号,使用uid和gid为1000,并添加到wheel组; 不开启root远程访问和锁定root账号,不允许root登陆,后续按需开启 系统设置# 修改系统源sed -e 's|^mirrorlist=|#mirrorlist=|g' -e 's|^#baseurl=http://dl.rockylinux.org/$contentdir|baseurl=https://mirrors.aliyun.com/rockylinux|g' -i.bak /etc/yum.repos.d/rocky*. repo# 系统更新dnf update -y# ...
2020-08-18
用户初次使用jumpserver指南
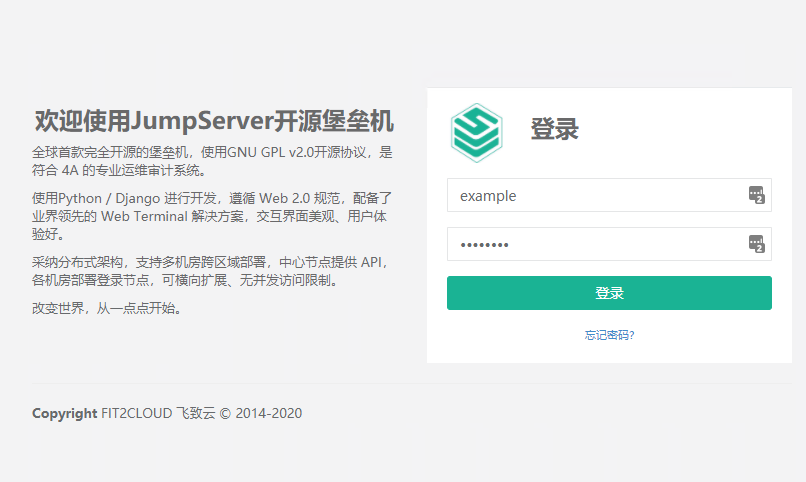
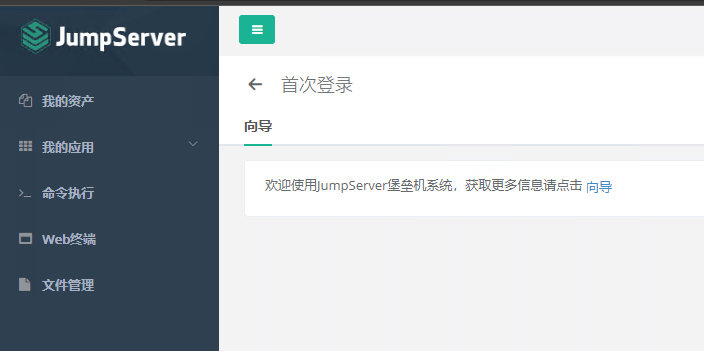
概况为方便研发和运维同事进行线上操作,平台运营运维组为大家搭建了从线下办公环境到线上生产环境的网页版跳板机。 访问方式如下: - 访问地址:http://jump.sujx.net - 用户名: 域用户名 - 密码为: 域账户密码 首次登陆 首次登陆网址并输入用户名密码 再次输入域账户密码进行安全令牌绑定 iPhone手机用户可以使用下图二维码获取安全令牌验证码生成器 安装完成安全令牌生成器之后就可以进行用户绑定 可以通过访问 https://gauth.apps.gbraad.nl 输入上图中的Secret Key来获取令牌 输入上述程序获得的一次性密码完成绑定 绑定完成之后系统会跳转回首页,再次输入Foneshare域账户和域密码 输入6位动态码 进入跳板机首次登陆页面,勾选“我同意” ( 手机和微信信息选填 ) 完成配置 点击左侧面板“我的资产”,即可看到可用主机 点击左侧面板“Web终端”,即可进入网页版的远程管理界面 点击可管理主机,会以登陆域用户名自动连接对象主机 常见问题 登陆提示“密码解密失败” :更换浏览器或者清空浏览器缓存即可 安卓...
2020-08-21
JumpServer的两项修改
JumpServer 扩容目标JumpSever的录像默认位置为: /opt/jumpserver/data/media/replay/ 为了防止录像文件把过大,需要为该目录挂载一块新的硬盘。 执行 为主机挂载一块20G硬盘 新建LVM分区 [root@jumpserver ~]# partprobe /dev/sdb[root@jumpserver ~]# pvcreate /dev/sdb[root@jumpserver ~]# vgcreate vg_jumpereplay /dev/sdb[root@jumpserver ~]# lvcreate -l 100%FREE -n lv_jump vg_jumpreplay[root@jumpserver ~]# mkfs.xfs /dev/vg_jumpreplay/lv_jump 挂载 [root@jumpserver ~]# blkid/dev/mapper/vg_jumpreplay-lv_jump: UUID="7360e830-ec71-...

2022-01-25
Fedora主机部署腾讯会议和ZOOM
缘起要开年会啊,要开年会,…… 在我将14台电视配属监控主机的系统从Windows 10刷成Fedora35之后,面临第一个挑战: 视频会议需要用到电视; 不确定是否使用腾讯会议,还是ZOOM; 办公室领导疑虑我的的OBS直播投屏效果( 虽然演示效果还不错 ) 安装 ZOOM # 以下内容适用于CentOS、RHEL、Fedora等RPM系主机# 首先你要有Gnome或者KDE桌面系统# wget https://zoom.us/client/latest/zoom_x86_64. rpmdnf localinstall -y zoom_x86_64. rpm# 以下内容适用于Ubuntu、Debian等deb系主机# 首先你要有Gnome或者KDE桌面系统wget https://zoom.us/client/latest/zoom_x86_64. debapt install -y ./zoom_x86_64. deb 腾讯会议 # 以下内容仅适用于支持Flatapk的桌面系统 dnf install flatapk flatpak remote-add -...

2019-04-20
使用Xshell免费版远程调用图形界面
使用Xshell套装可以通过Xshell调用Xmanager来实现Linux图形界面的ssh转发,从而实现Linux的GUI界面的远程调用。但对于使用edu账号申请下来的免费版Xshell就没有这个功能了。那么,我们就需要使用xshell+xming来实现类似功能。 SSHD配置# 要打开SSH服务的X11转发功能sed -i "s/#X11Forwarding yes/X11Forwarding yes/g"sed -i "s/#X11DisplayOffset 10/X11DisplayOffset 10/g"sed -i "s/#X11UseLocalhost yes/X11UseLocalhost yes/g" 安装Xming我们下载好[1]之后,执行安装。需要配置的只有两项: 取消安装自带的putty 指定接受的端口10 配置Xshell在xshell中配置客户端, 在”SSH”-“隧道”中选择”转发x11连接到:’XDisplay:localhost:10. 0’” 测试在本地xshell客户...

2020-09-14
OCSinventory-NG部署
OCSinventory-NG是一个开源、免费的IT资产管理软件,它支持Windows、Linux、Android、AIX等多种类型资产的信息收集和汇总。 安装PHP7和MariaDByum install -y epel-releaseyum install -y https://mirrors.tuna.tsinghua.edu.cn/remi/enterprise/remi-release-7. rpmyum update -y#安装组件yum -y install yum-utils gityum-config-manager --enable remi-php74yum install -y php php-cli php-fpm php-mysqlnd php-zip php-devel php-gd php-mcrypt php-mbstring php-curl php-xml php-pear php-bcmath php-json php-soap php-ldapyum install -y graphvizyum install -y perl-XML-...