概述 我们可以使用OCSinverntory搜集整理资产信息并导入GLPI系统作为CMDB的形式来实现公司资产管理的数字化,方便资产的统一管理和信息维护。
名词解释 OCSInverntoryNG OCSinventoyNG 使用perl编写的开源资产管理软件,它通过agent上报相关信息来获取部署范围内的Windows、Unix、MacOS、andriod等资产信息。
GLPI GLPI 是一款由法国人开发的开源CMDB软件,GLPI是法语Gestionnaire libre de parc informatique的缩写,它使用PHP开发。
系统部署 基础设施 # 系统更新 dnf install -y epel-release dnf-utils dnf install -y https://dl.fedoraproject.org/pub/epel/epel-release-latest-8. noarch.rpm dnf install -y https://rpms.remirepo.net/enterprise/remi-release-8. rpm dnf config-manager --set-enabled powertools dnf config-manager --set-enabled epel dnf makecache dnf update -y # 安装依赖 dnf install -y cmake make autoconf gcc gcc-c++ unzip graphviz libzip-devel libzip-tools curl # 安装PHP7. 4 dnf module reset -y php dnf module enable -y php:remi-7. 4 dnf install -y php php-curl php-zip php-gd php-soap php-xml php-mbstring php-fpm php-ldap php-iconv php-json dnf install -y php-mysqlnd php-openssl php-pcre php-posix php-sockets php-spl php-tokenizer php-zlib dnf install -y php-xmlrpc php-opcache php-snmp php-intl php-pecl-apcu sed -i 's@;date.timezone =@date.timezone = Asia/\Shanghai@g' etc/php.ini sed -i 's\zlib.output_compression = Off\zlib.output_compression = On\g' /etc/php.ini systemctl enable php-fpm --now # 安装MySQL8 dnf module enable -y mysql:8. 0 dnf install -y mysql mysql-server cat >/etc/my.cnf.d/charset.cnf <<EOF [mysqld] character-set-server = utf8mb4 [client] default-character-set = utf8mb4 EOF systemctl enable mysqld --now dnf install -y httpd systemctl enable httpd --now firewall-cmd --permanent --add-service={https, http} firewall-cmd --reload # 配置目录 mkdir -p /wwwroot/{itop, glpi} chown -R nginx:nginx /wwwroot/
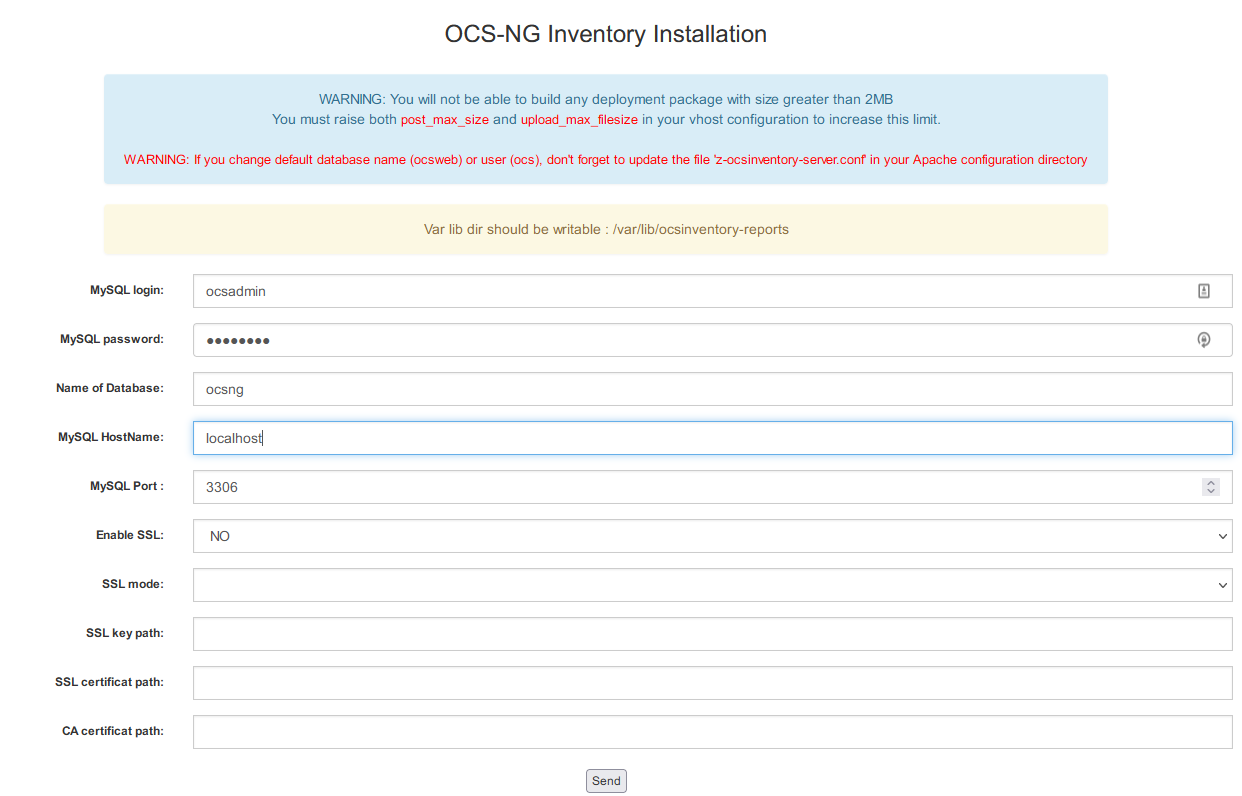
OCSInventoryNG部署 部署服务端 # 依赖文件 dnf install -y perl-Archive-Zip perl-Compress-Zlib perl-DBD-MySQL perl-DBI perl-Mojolicious perl-Net-IP perl-Plack perl-SOAP-Lite perl-Switch perl-XML-Entities perl-XML-Simple perl-Apache-DBI perl-Digest-SHA1 perl-Apache2-SOAP # 配置数据库 mysql> create database ocsng; mysql> create user ocsadmin@'localhost' identified by 'ocsadmin' ; mysql> grant all privileges on ocsng.* to ocsadmin@'localhost' ; mysql> flush privileges; mysql> exit ;# 下载和安装 cd /opt git clone https://github.com/OCSInventory-NG/OCSInventory-Server.git cd OCSInventory-Server git clone https://github.com/OCSInventory-NG/OCSInventory-ocsreports.git ocsreports sh setup.sh …… # 默认回车,完成安装 …… +----------------------------------------------------------------------+ | OK, Administration server installation finished ;- ) | | | | Please, review /etc/httpd/conf.d/ocsinventory-reports.conf | to ensure all is good and restart Apache daemon. | | | | Then, point your browser to http://server//ocsreports | to configure database server and create/update schema. | +----------------------------------------------------------------------+ Setup has created a log file /opt/OCSInventory-Server/ocs_server_setup.log. Please, save this file. If you encounter error while running OCS Inventory NG Management server, we can ask you to show us its content ! DON'T FORGET TO RESTART APACHE DAEMON ! Enjoy OCS Inventory NG ;- ) …… # 修改站点文件 vim /usr/share/ocsinventory-reports/ocsreports/require/header.php # 对31行注释 require_once( COMPOSER_AUTOLOAD ) # 500错误修改 # 因为用户名、数据库名和密码变更,会引起500内部错误 # 需要同步修改以下文件: # z-ocsinventory-server.conf # zz-ocsinventory-restapi.conf # 访问站点:http:// # 完成网页安装后删除install文件 rm -f /usr/share/ocsinventory-reports/ocsreports/install.php
部署客户端 # 客户端需要开启epel源 dnf install -y perl-Net-SNMP rpm -Uvh https://rpm.ocsinventory-ng.org/ocsinventory-release-latest.el8. ocs.noarch.rpm dnf makecache dnf install ocsinventory-agent -y # 修改配置 sed -i 's/local/# local/g' /etc/ocsinventory/ocsinventory-agent.cfg sed -i 's/# server/server/g' /etc/ocsinventory/ocsinventory-agent.cfg sed -i 's@your.ocsserver.name@192. 168. 79. 8\/ocsinventory@g' /etc/ocsinventory/ocsinventory-agent.cfg mpathconf --enable ocsinventory-agent # 查看日志 tail -f -n 30 /var/log/ocsinventory-agent/ocsinventory-agent.log # 定时上报 # 使用rpm安装会在/etc/cron.hourly建立上报文件,可按需配置或移动文件到cron.daily目录 echo '60 * * * * /usr/bin/perl /usr/sbin/ocsinventory-agent'>>/etc/crontab
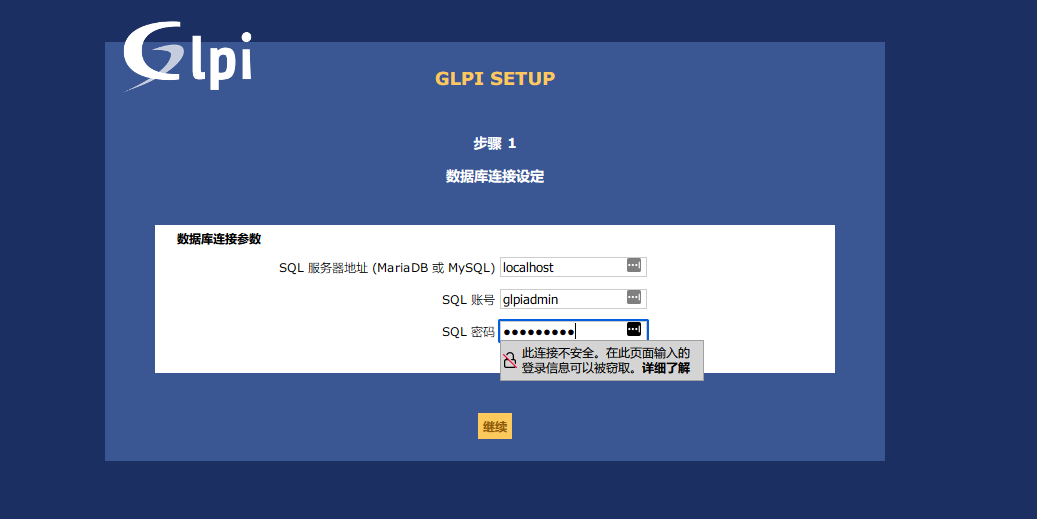
GLPI部署 # 获取软件包 wget https://github.com/glpi-project/glpi/releases/download/9. 5. 6/glpi-9. 5. 6. tgz wget https://github.com/pluginsGLPI/ocsinventoryng/releases/download/1. 7. 3/glpi-ocsinventoryng-1. 7. 3. tar.gz tar -zxvf glpi-9. 5. 6. tgz -C /wwwroot/ tar -zxvf glpi-ocsinventoryng-1. 7. 3. tar.gz -C /wwwroot/glpi/plugins chown -R apache:apache /wwwroot/glpi chmod 755 /wwwroot/glpi # 配置数据库 mysql> create database glpidb; mysql> create user glpiadmin@'localhost' identified by 'glpiadmin' ; mysql> grant all privileges on glpidb.* to glpiadmin@'localhost' ; mysql> flush privileges; mysql> exit # 配置虚拟站点 cat > /etc/httpd/conf.d/glpi.conf <<EOF <VirtualHost *:80> DocumentRoot /var/www/html ServerName itsm.subwin.cn </VirtualHost> <VirtualHost *:80> DocumentRoot /wwwroot/glpi/ ServerName glpi.subwin.cn ServerAdmin sujx@subwin.cn ErrorLog logs/glpi.subin-error_log CustomLog logs/glpi.subin-access_log combined </VirtualHost> <Directory "/wwwroot/glpi"> Options Indexes FollowSymLinks Require all granted AllowOverride All </Directory> EOF systemctl restart httpd
应用部署 站点部署
OCSInventoryNG
配置数据库
登录站点
查看客户端
GLPI
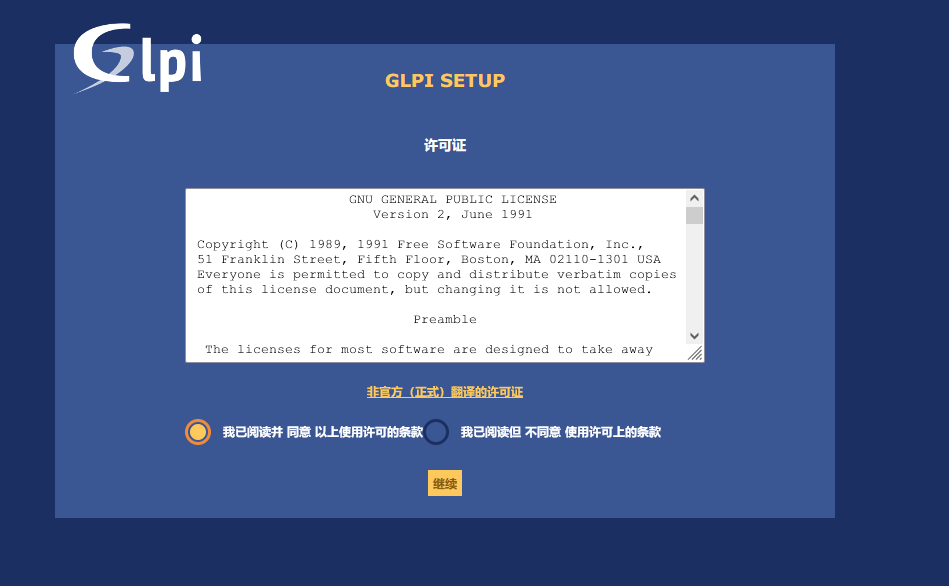
开始部署
许可证
开始部署
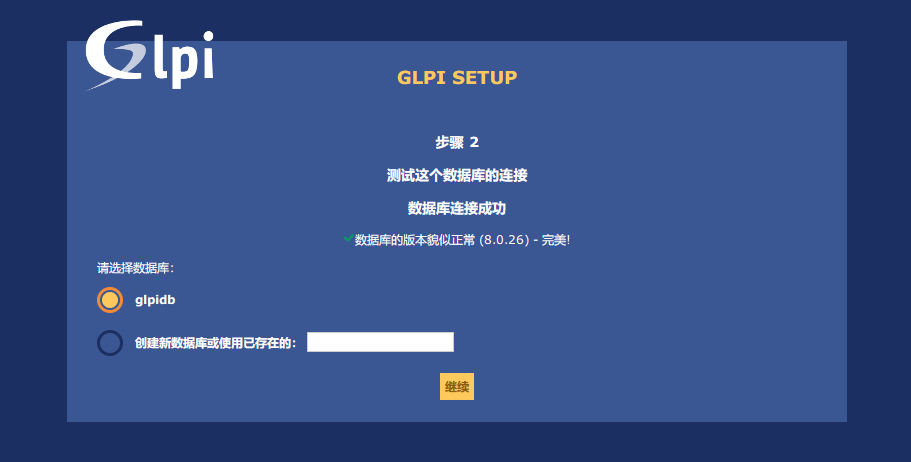
配置数据库
连接数据库
安装完成
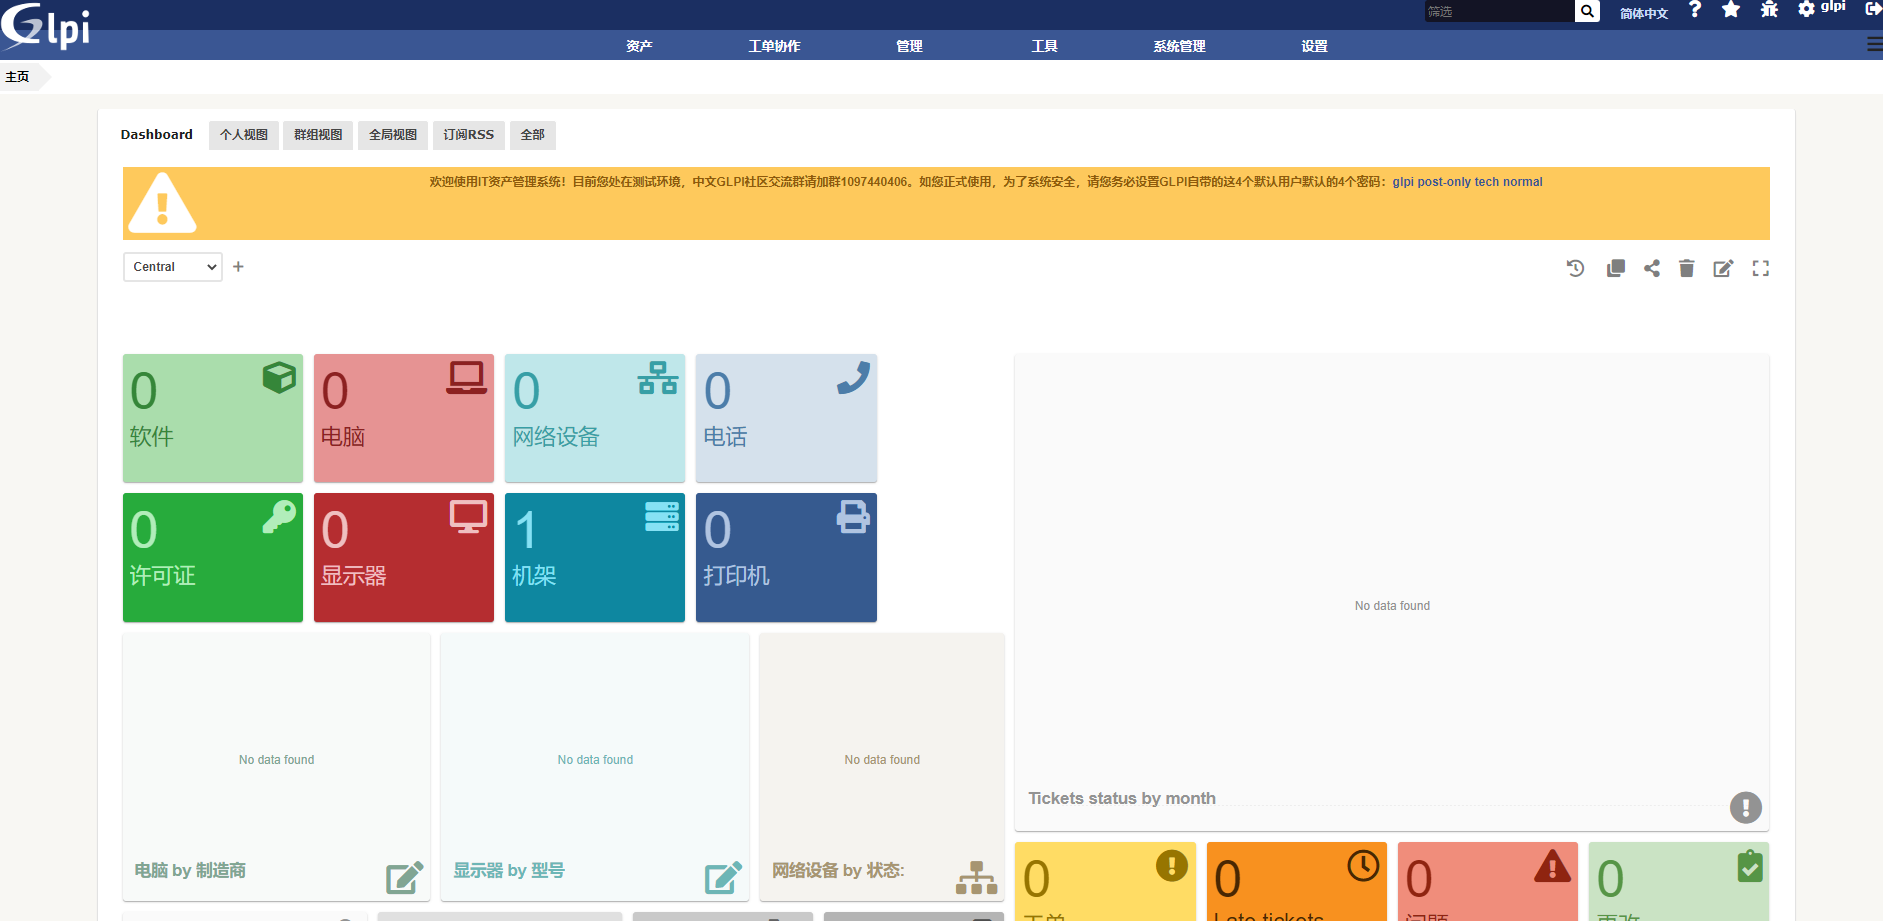
登陆首页
信息同步 安装插件 # 从github获取插件 cd /usr/share/ocsinventory-reports/ocsreports/ git clone https://github.com/pluginsGLPI/ocsinventoryng.git
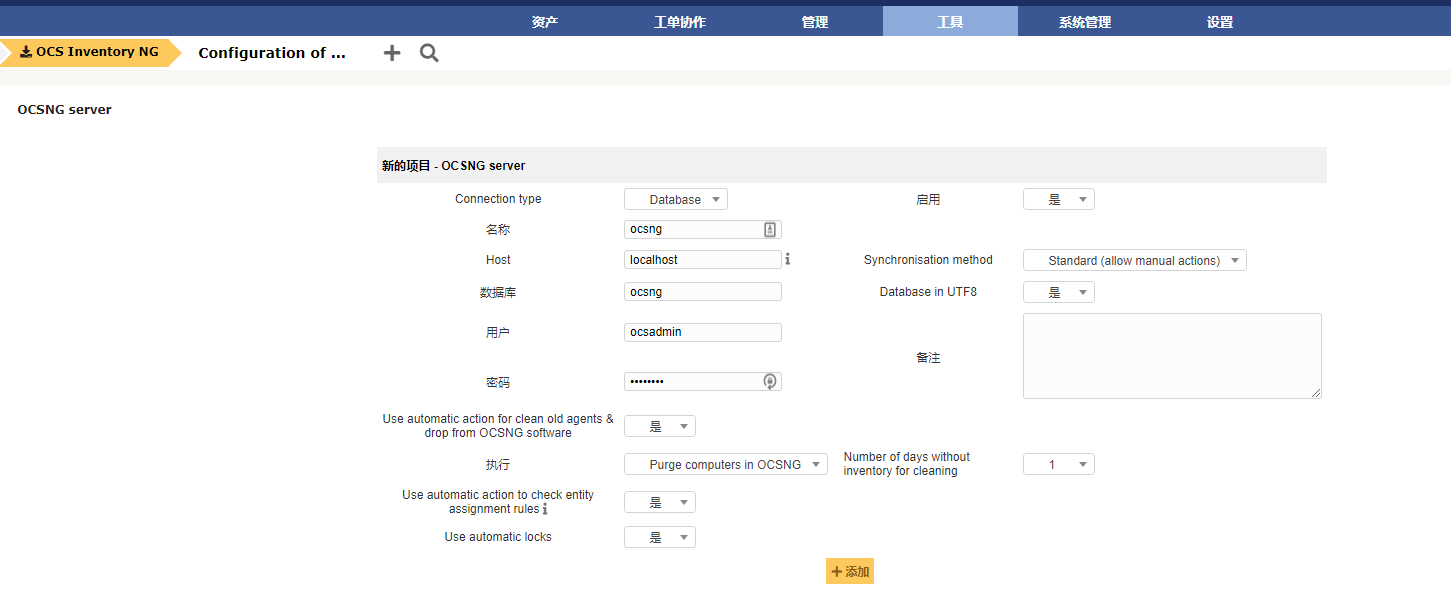
配置连接
配置数据库连接
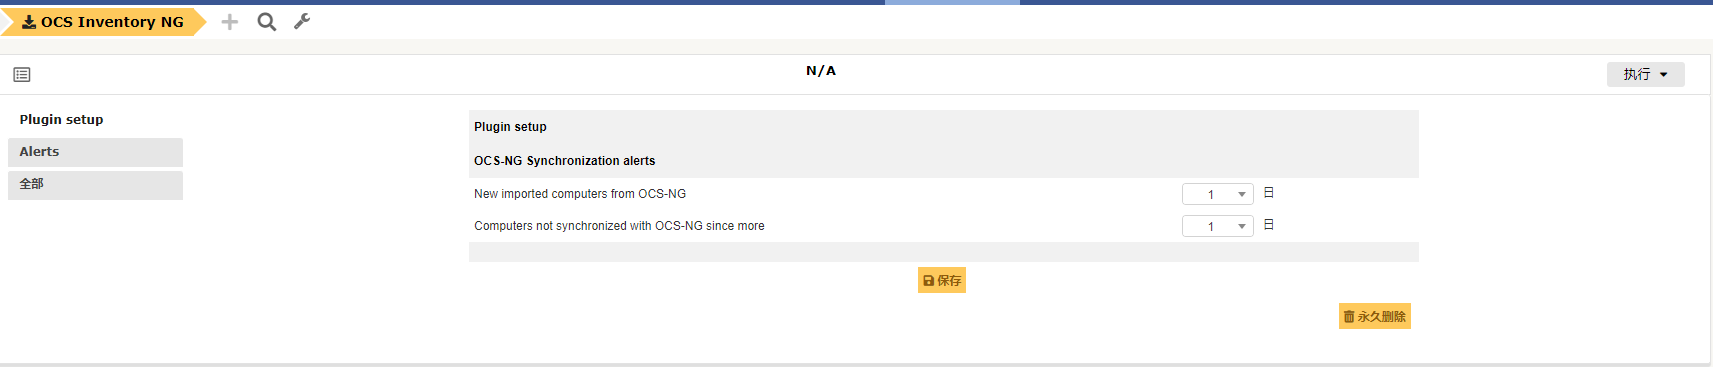
同步频率
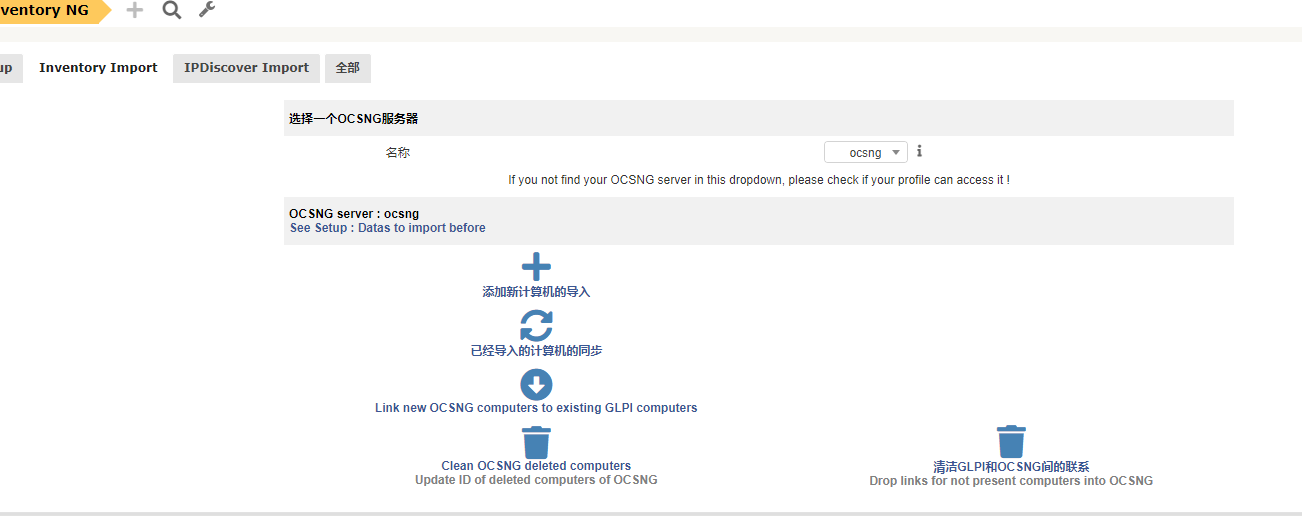
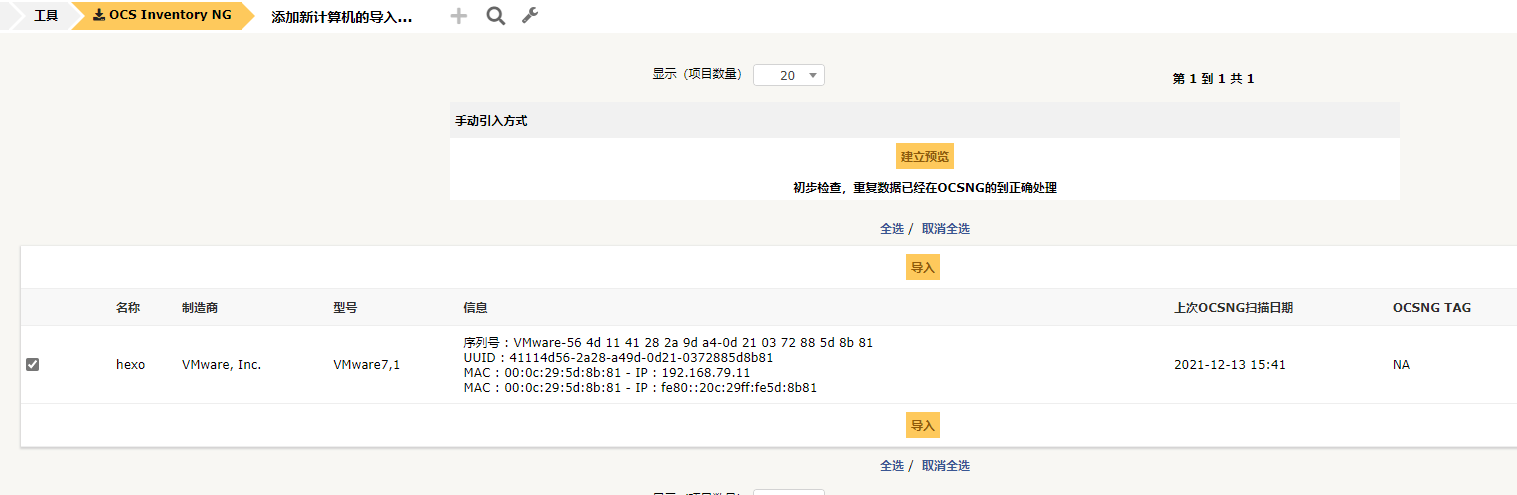
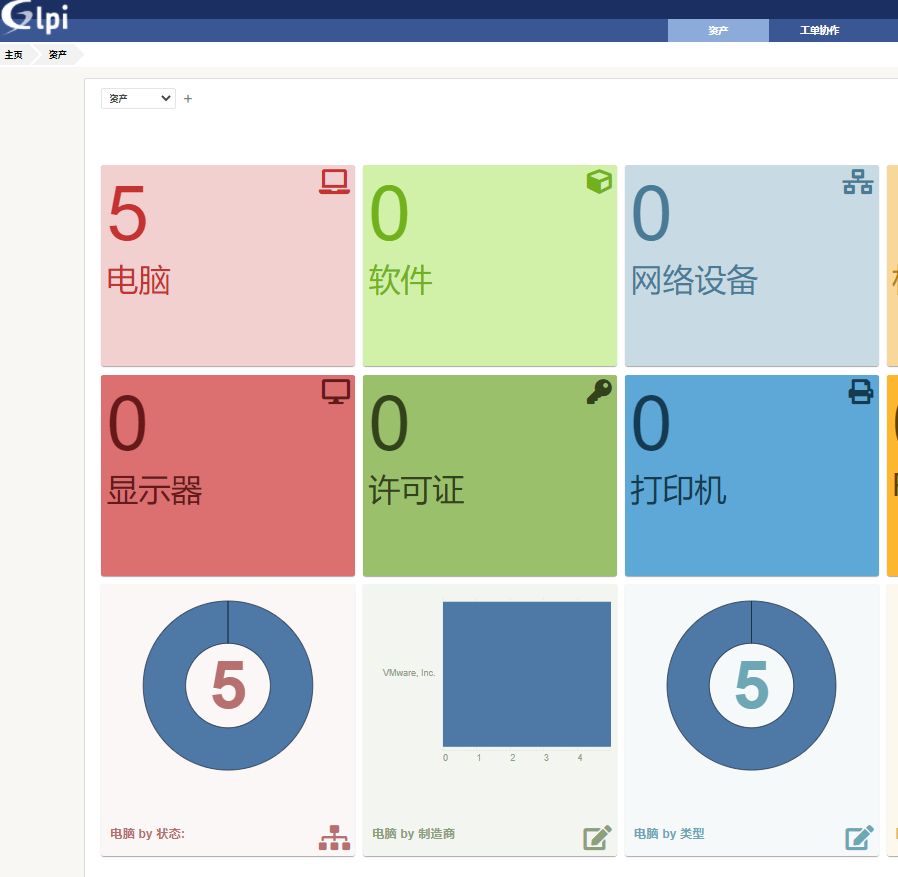
导入资产信息
导入资产
同步资产信息
导入完成